If your flyscreens are showing wear and tear with holes and rips, replacing the old mesh is a quick and easy DIY job.
A few simple steps and our trade quality mesh and you will have your screens looking as good as new.
Step 1: Remove your screens and give the opening a once over with a dust brush to remove any built-up dust and grit.
If you remove more than one screen, it is a handy tip to mark each screen with its location.
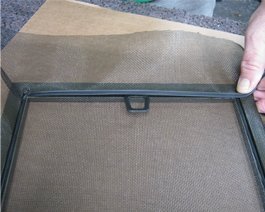
Step 2: Place the screen on a flat surface and, using the point of a screwdriver, lift a corner of the spline out of the frame. The spline is the rubber tubing that holds the flyscreen mesh into the frame. Once you have removed a few centimetres of spline, you will be able to grip it and pull the rest of it out of the frame. The flyscreen mesh will then pull away easily. Take a minute to look over the screen for any damage to the frame.
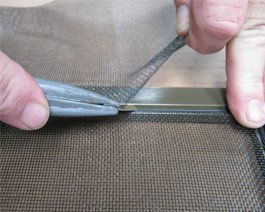
Step 3: Install the new screen mesh. Cut a piece of flyscreen mesh approximately 100mm larger than that the flyscreen frame.
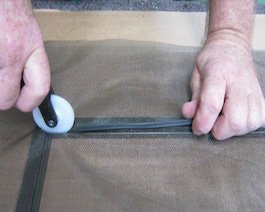
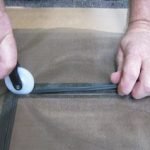
Starting on the short side of your screen, using a spline roller, work the spline into the frame being sure to keep the mesh taut as you go. Once it is all rolled in, trim off the excess mesh with a sharp knife and being careful not to cut the new mesh.
Congratulations 🙂 You have a nice new screen. Now it is simply a matter of reinstalling and gaze proudly at your handiwork 🙂